Understanding the Importance of Vapor Barrier Installation
When it comes to home construction or renovation, one essential component that often goes unnoticed is the vapor barrier. A vapor barrier is a crucial element in managing moisture vapor in residential and commercial spaces. Proper Vapor Barrier Installation plays a pivotal role in protecting your property from mold, mildew, and structural damage caused by moisture. This detailed guide will explore the importance of vapor barrier installation, its benefits, and the practices to ensure effective implementation.
What is a Vapor Barrier?
A vapor barrier is a material used to control the movement of moisture vapor within a building’s structure. Typically, these barriers are installed in areas prone to dampness, such as crawl spaces, basements, and attics. They work by preventing atmospheric moisture from penetrating interior spaces, thereby reducing condensation and subsequent moisture-related problems. Common materials used for vapor barriers include polyethylene sheets, foil-faced insulation, and other approved materials that meet building codes.
Benefits of Vapor Barrier Installation
The advantages of installing a vapor barrier in your home are multifaceted:
- Mold and Mildew Prevention: By minimizing moisture levels, vapor barriers significantly reduce the risk of mold and mildew growth, which can cause health issues and damage to the home.
- Energy Efficiency: A proper vapor barrier helps enhance the thermal insulation of the building, reducing energy costs and maintaining a comfortable indoor climate.
- Protection of Structural Integrity: Excess moisture can compromise the building materials (like wood and drywall), leading to costly repairs. Vapor barriers help prolong the life of these materials.
- Improved Air Quality: Reducing moisture leads to better air quality, positively impacting the health and well-being of occupants.
- Regulatory Compliance: Many local building codes now require the installation of vapor barriers in specific areas, making them essential for compliance and passing inspections.
Common Applications of Vapor Barrier Installation
Vapor barriers are utilized in various applications throughout a building:
- Crawl Spaces: Proper installation in crawl spaces protects the home from moisture rising from the ground.
- Basements: Installing a vapor barrier in basements prevents humidity from entering and protects belongings.
- Attics: Vapor barriers in attics prevent warm, moist air from condensing within the insulation layers.
- Walls: Vapor barriers can be applied within walls to prevent moisture infiltration and ensure the longevity of wall materials.
Key Components for Effective Vapor Barrier Installation
Materials Needed for Vapor Barrier Installation
Choosing the right materials is critical for the effectiveness of vapor barrier installation. Commonly used materials include:
- Polyethylene Sheeting: This is the most common type, available in varying thicknesses, typically ranging from 6 to 20 mils.
- Foil Facings: Often used in conjunction with insulation, these products reflect heat and help control moisture.
- Seal Tape: Specialized tape designed to seal joints and seams in your vapor barrier, preventing air and moisture leaks.
- Fasteners and Adhesives: Depending on the installation area, specific fasteners or adhesives might be needed for secure placement.
Tools Essential for Vapor Barrier Installation
To execute a quality installation, having the right tools at your disposal is essential. Here are some tools you will likely need:
- Utility Knife: For cutting the sheeting to appropriate sizes.
- Measuring Tape: For accurately measuring dimensions of the area to ensure correct cutting.
- Stapler or Fastening Gun: Used for securing vapor barrier sheets in place against framing or walls.
- Paint Roller: Ideal for applying adhesive to joints and seams if using adhesive-based methods.
- Safety Gear: Gloves and respiratory protection are recommended, especially in dusty or mold-prone areas.
Choosing the Right Type of Vapor Barrier
Selecting the right type of vapor barrier depends on several factors, such as:
- Climate: In humid environments, a thick poly barrier might be required, while dryer climates may allow thinner options.
- Installation Area: The application site (e.g., crawl space vs. basement) will dictate the appropriate material and thickness.
- Building Codes: Adhering to local building regulations ensures the vapor barrier meets all prescribed standards.
Step-by-Step Guide to Vapor Barrier Installation
Preparing the Area for Installation
Proper preparation of the area is essential for a successful installation. Begin by:
- Removing any debris, living organisms, and old insulation that may influence the installation.
- Ensuring the area is dry. It may be beneficial to run dehumidifiers to lower humidity levels.
- Assessing the ground for any visible moisture leaks or sources of water intrusion that require remediation before installation.
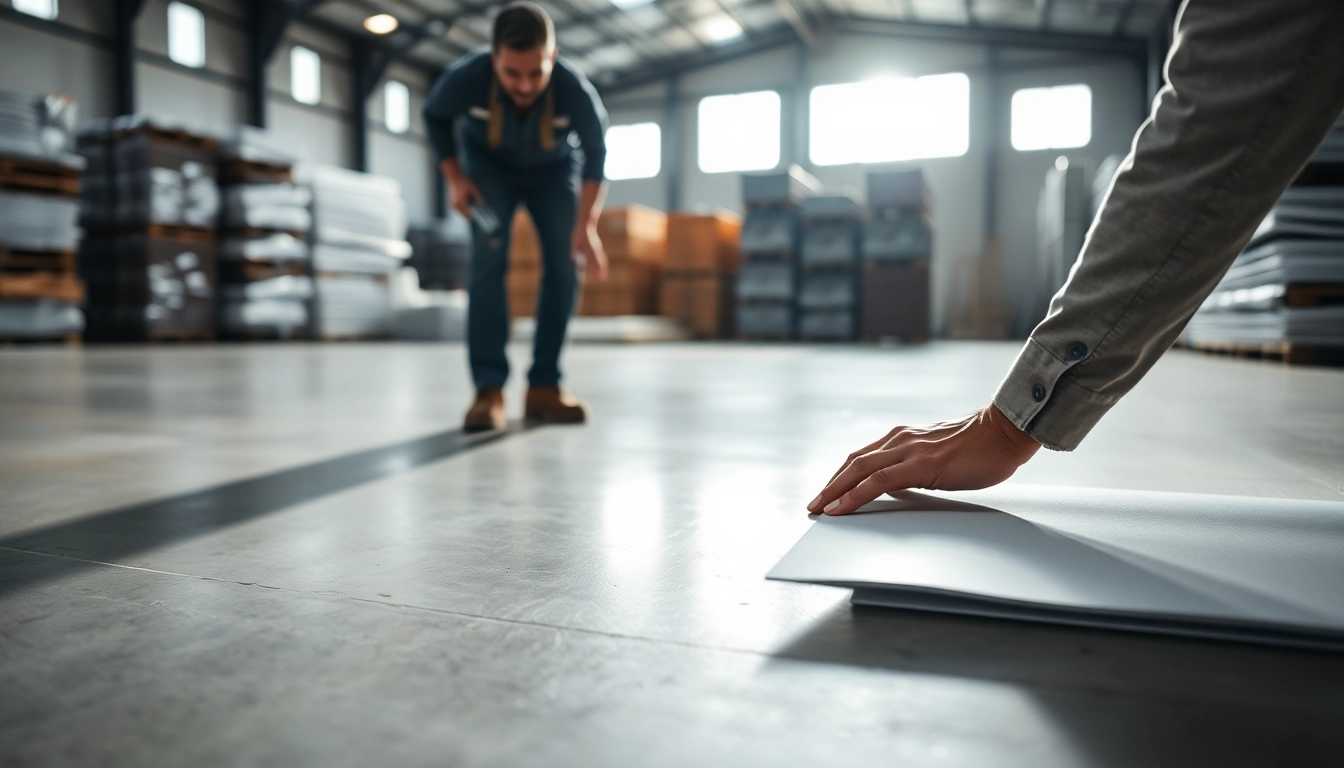
Executing the Vapor Barrier Installation
Once the area is ready, follow these steps for effective installation:
- Cut the vapor barrier material to fit the area, allowing a few extra inches for overlap at seams.
- Lay the plastic sheeting flat on the ground, ensuring it extends up the walls minimally.
- If applicable, fasten the barrier to walls using staples or fasteners, ensuring it remains taut and flat.
- Overlap seams by at least 12 inches and seal with tape to prevent moisture penetration.
Sealing and Finishing Touches
After laying and securing the vapor barrier, complete the installation by:
- Inspecting all seams and edges to ensure no gaps are present.
- Applying additional seal tape where necessary to tightly bond sections.
- Checking for proper edge sealing around walls by using fasteners or adhesive.
- Cleaning up debris, tools, and ensuring the area is safe for use.
Common Mistakes to Avoid in Vapor Barrier Installation
Improper Material Usage
Using the wrong type of vapor barrier material can compromise the installation’s effectiveness. Always consult local guidelines and specifications.
Poor Surface Preparation
Neglecting to prepare the area may result in moisture remaining trapped, leading to future mold growth. Ensure thorough cleaning and drying of the installation area.
Neglecting Sealing Techniques
Failing to seal seams and edges properly is a common error that allows moisture to enter. Proper sealing is paramount for the effectiveness of the vapor barrier.
FAQs About Vapor Barrier Installation
How does vapor barrier installation affect my home?
Vapor barrier installation prevents moisture buildup, protecting the structural integrity of your home and enhancing indoor air quality.
What materials are ideal for vapor barrier installation?
Polyethylene sheeting is commonly used, though other options exist depending on the specific area and local climate conditions.
How long does vapor barrier installation take?
Installation time varies but typically ranges from a few hours to a full day, depending on the size and complexity of the space.
Can I install a vapor barrier myself?
Yes, with the right tools and knowledge, DIY vapor barrier installation is possible and can save costs; however, professional guidance is often beneficial.
What should I do if I see moisture after installation?
If moisture appears, check for gaps in sealing and ensure proper drainage systems are in place. Remediation is crucial for maintaining integrity.